Deploy your website on Devsy Host (devsyhost.cloud) — a modern, global-friendly, publish-ready guide
Learn how to get a website live on Devsyhost.cloud in clear, non-technical steps — account setup, domain and DNS, hosting activation, one-click installs, SSL, email, CDN, backups, launch checklist and post-launch tips.
Quick summary
This article guides you through every stage of deploying a website on Devsy Host (devsyhost.cloud) without requiring developer-level knowledge. It’s written for freelancers, small businesses, agencies, and anyone who wants a straightforward, reliable way to go from zero to live. Use the checklist for fast setup and the step-by-step sections to fill in details when you need them.
Why choose Devsy Host?
Devsy Host combines simplicity with developer-friendly features and global performance. Highlights for customers:
-
One-click installs for popular site builders and CMS platforms so you can get started fast.
-
Free SSL certificates and easy HTTPS setup to keep your site secure.
-
Automated daily backups and simple restore tools for peace of mind.
-
Built-in CDN support to speed up delivery around the world.
-
SSH, Git-friendly workflows and staging options for teams and technical users.
-
24/7 customer support and migration help to make transitions easy.
Ready-to-deploy checklist (summary)
Use this checklist as a quick path to launch:
-
Create a Devsy Host account and verify your email.
-
Add or register your domain.
-
Choose and activate a hosting plan that fits your traffic needs.
-
Point DNS records to Devsy Host.
-
Install your CMS or site builder (WordPress or Weebly) using one-click tools.
-
Activate SSL and enforce HTTPS.
-
Create and test email accounts; configure deliverability settings.
-
Enable a CDN and caching to improve global performance.
-
Turn on automatic backups and test a restore.
-
Complete the launch checklist and go live.
Step-by-step deployment
Step 1 — Create your account and verify
Begin at devsyhost.cloud and sign up for a new account. Verify your email address, confirm your billing preference, and complete the basic setup in the Dashboard. Double-check your contact details and pick the hosting region closest to your main audience if the option is available.
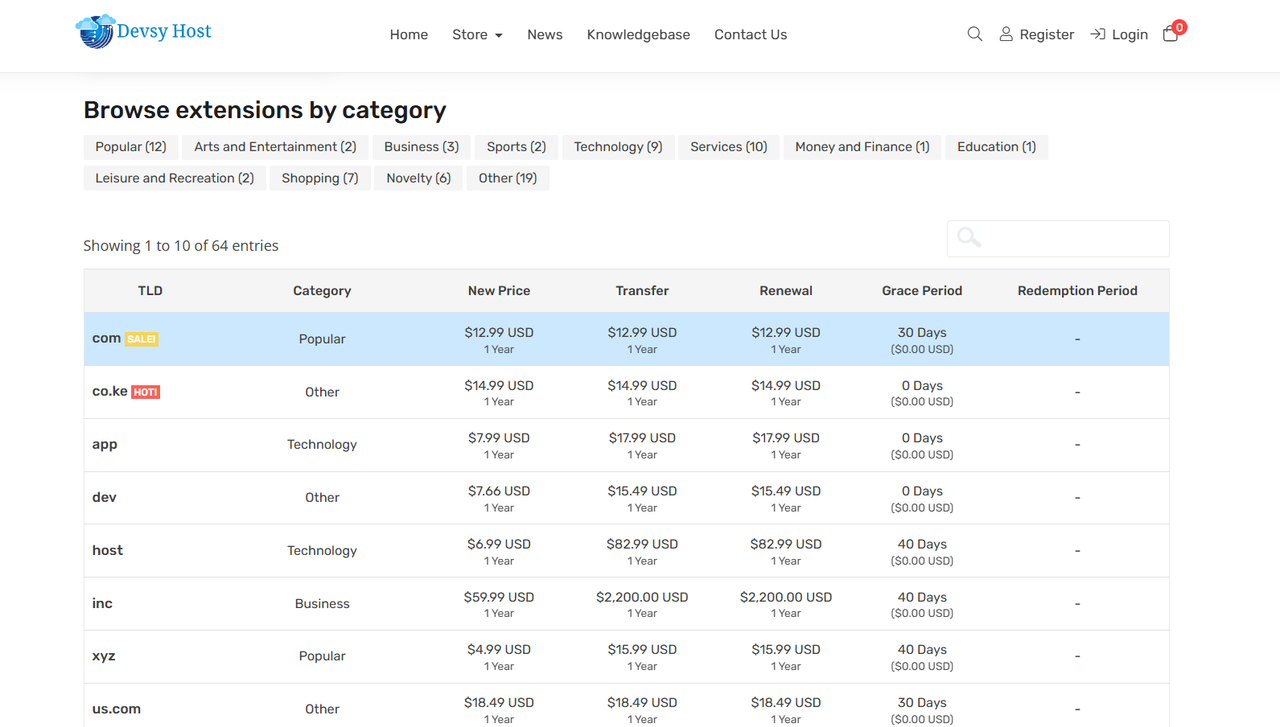
Step 2 — Add or register your domain
If you already own a domain, add it to Devsy Host in the Client Area under Domains. If you need a new domain, search and register one directly from Devsy Host’s domain service. Choose a clear, brandable domain and set up a short, logical permalink structure for your site’s pages.
Pro tip: If you operate in multiple countries, consider registering country-specific domains only when you have localized content or legal/operational needs.
Step 3 — Choose and activate a hosting plan
Select a plan based on expected traffic and required features. Typical tiers include:
-
Starter — for small personal sites and low traffic.
-
Business — for growing stores or businesses.
-
Enterprise — for high traffic sites and advanced resource needs.
Activate the plan, then note whether your account uses cPanel, a proprietary dashboard, or a managed control panel. That determines where you’ll find one-click installers, SSL options, and backup controls.
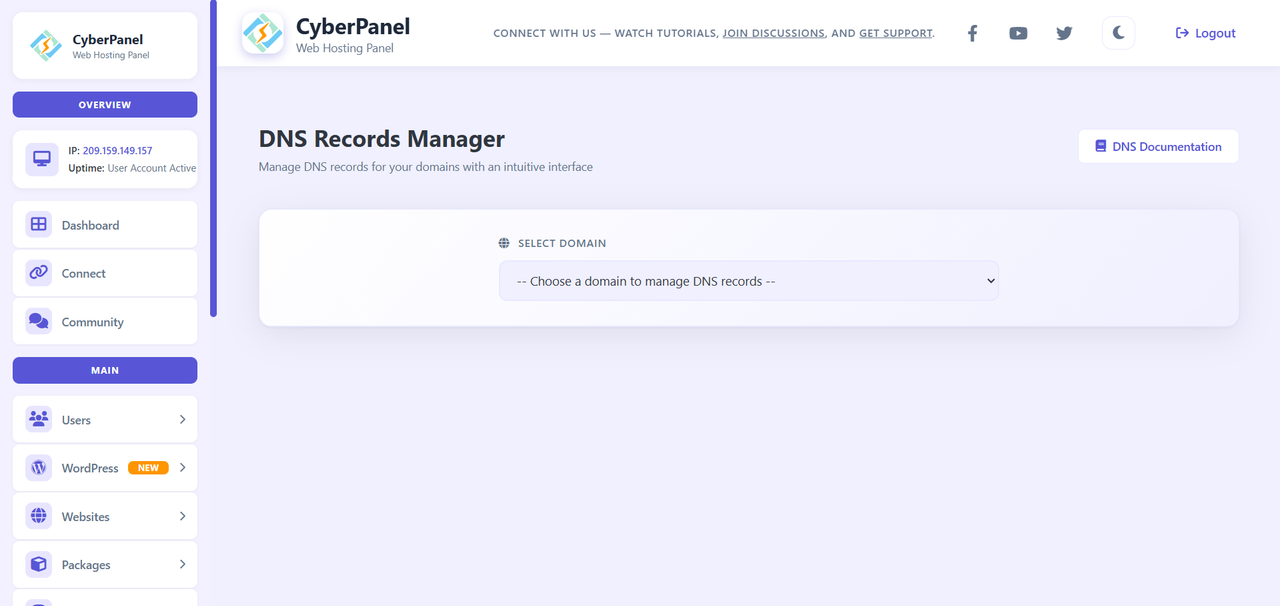
Step 4 — Point DNS to Devsy Host
At your domain registrar, update the records to point the domain to Devsy Host’s nameservers or the IP addresses provided in your Client Area. This connects your domain to your hosting account and mail services. DNS changes may propagate quickly or take up to 48 hours depending on global caches.
Step 5 — Install your site builder or CMS
From the Dashboard’s Applications or One-Click Installs section, choose WordPress, Weebly, or another supported application. Follow the guided prompts to set a site title, admin contact, and publishing preference. For Weebly users, select a template, drag-and-drop content, and preview on mobile before publishing.
Pro tip: If you prefer a visual editor, Weebly provides an intuitive drag-and-drop experience. If you need extensibility and plugins, WordPress is the common choice.
Step 6 — Activate SSL and enforce HTTPS
Enable the free SSL certificate option in the Dashboard (e.g., Let’s Encrypt). Once issued, ensure your site is configured to redirect all traffic to HTTPS so visitors always use the secure version of your site. Devsy Host typically automates certificate renewals.
Step 7 — Set up email and ensure deliverability
Create email addresses in the Client Area (for example, hello@yourdomain.com) and test them from a separate email account. Configure standard email best practices from the Dashboard — SPF, DKIM and DMARC support — to improve deliverability and prevent your messages from being marked as spam.
Pro tip: Send and receive test messages and ask recipients to check spam folders, then adjust settings as needed.
Step 8 — Improve speed with CDN and caching
Integrate a CDN (Content Delivery Network) such as Cloudflare or another supported provider to serve content closer to global visitors. Enable any server-side caching features available in your plan and use image optimization tools in your CMS to reduce file sizes. Fast page load times improve user experience and search engine ranking.
Step 9 — Backups and restore practices
Turn on automated daily backups and retain multiple snapshots so you can restore a previous state quickly. Periodically perform a test restore to a staging or subdomain environment to validate your backup process and minimize surprises during real incidents.
Pro tip: Keep at least one off-site copy of critical site files and databases for additional redundancy.
Step 10 — Pre-launch checklist and launch
Before announcing your new site, verify the following:
-
SSL is active and all pages force HTTPS.
-
DNS has fully propagated to key regions.
-
Email sending and receiving are functioning.
-
CDN and caching are enabled and tested.
-
Backups are scheduled and a restore tested.
-
Analytics and SEO basics are in place (sitemaps, robots file, analytics tracking).
-
Page speed targets are met for your main audience.
When everything checks out, publish and share your site. Monitor traffic, error logs, and support channels for the first 72 hours to address any issues quickly.
Developer & team notes (no code)
-
SSH & Git workflows: Devsy Host supports SSH key management and Git-based deployments for teams that want continuous delivery. Use the Dashboard to manage keys and staging environments.
-
Staging environments: Clone production into a staging area to test updates and plugins safely before moving changes live.
-
Build tools: If your project uses build tools (for example, asset compilation or bundlers), handle the build process locally or on a CI server, then deploy the compiled assets to your hosting account.
Suggested images / screenshot list
-
Dashboard after signup
-
DNS records panel
-
One-click installer page
-
SSL activation screen
-
Backup snapshots list
SEO & publishing tips
-
Use short, clear permalinks that reflect page purpose.
-
Add descriptive meta titles and meta descriptions for each page.
-
Structure content for scanning: short lead paragraph, numbered steps, bolded tips, and a brief FAQ at the end.
-
Add FAQ markup through your CMS if supported to help search engines surface common questions.
FAQ
Q: How long does DNS propagation take?
A: DNS propagation typically completes in a few minutes for many users but can take up to 24–48 hours globally depending on TTL and cache behavior.
Q: Does Devsy Host offer migration help?
A: Yes — request a migration through support and provide your current host’s access details. Devsy Host’s team can usually move files and databases with minimal downtime.
Q: Can I change hosting plans after launch?
A: Yes. Upgrading is straightforward and usually prorated. For complex migrations between very different plan types, support can help schedule and execute the move.
Q: Are daily backups automatic?
A: Yes, Devsy Host provides automated backups. We recommend testing a restore periodically to ensure backups meet your recovery needs.
